Event-Triggered Campaigns - Content Tab - URLs
After defining the basic content information for the campaign and saving the information, three extra tabs appear. URLs is one of the new tabs. On this screen, you add the URLs for the different kinds of content. You are not limited to just one kind of content, you can use HTML, plain text and several other options.
In some cases, it may be necessary to create content for specific email clients. These clients may not accept HTML or may only accept a subset. These emails can also require specific encoding. The screen has a section where you define content for specific email clients.
Add URLs
The content file for each delivery option must reside on a web server before you can use it. Connect fetches the content and delivers it when the campaign is pushed.
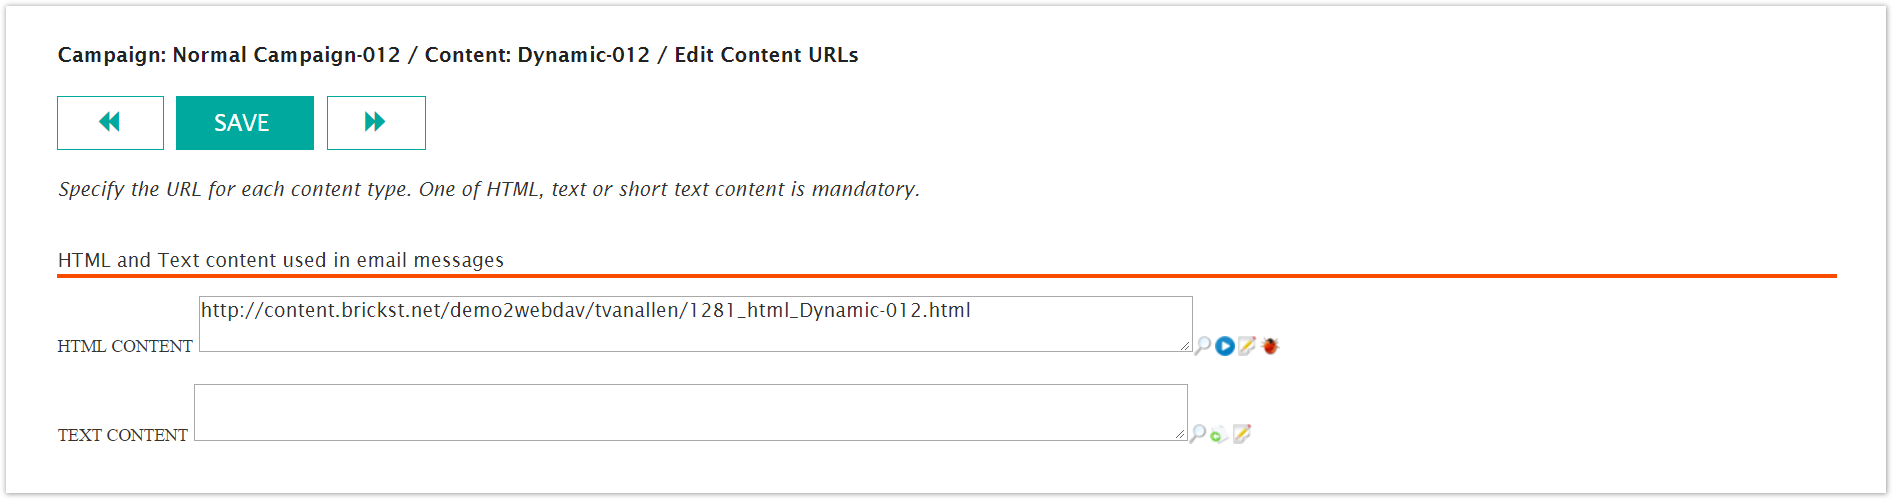
This procedure assumes that you are on the Content > URLs screen. Follow these directions to add HTML, plain text, text message and referral message urls.
From the Edit Content URLs screen, in the HTML Content, Text Content, Short Text and Referral Content fields, type the URL for the associated content. Add URLs in one or more fields.
Click the magnifying glass
 to view the content. This displays the content on the web server.
To set up your HTML or XML editor so that you can edit content without leaving Connect, do the following:
Click the Message Content Editor
 icon. The Message Content Editor screen appears. The Matched Server field is not editable and the URL field is automatically populated.
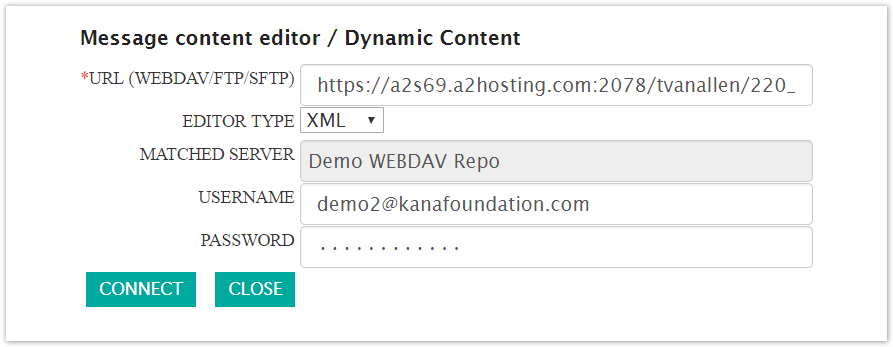
In the User Name field, type the user name you use to login to the server.
In the Password field, type the password you use to login.
From the Editor Type drop-down field, select the type of editor you use, XML or HTML.
Click Connect to test or click Close to collapse the screen. When you click the close button, the Edit Content URLs screen appears.
Click the Save button at the top of the screen. A confirmation box appears saying the information was saved.