Creating User Agent Tags
User Agent Tags are associated to user agents. Once the user agent tag is created, it is able to be associated to a user agent by Connect to report on customer technological demographics. The tags help Connect with summarizing how customers access messages and what means they use to do so.
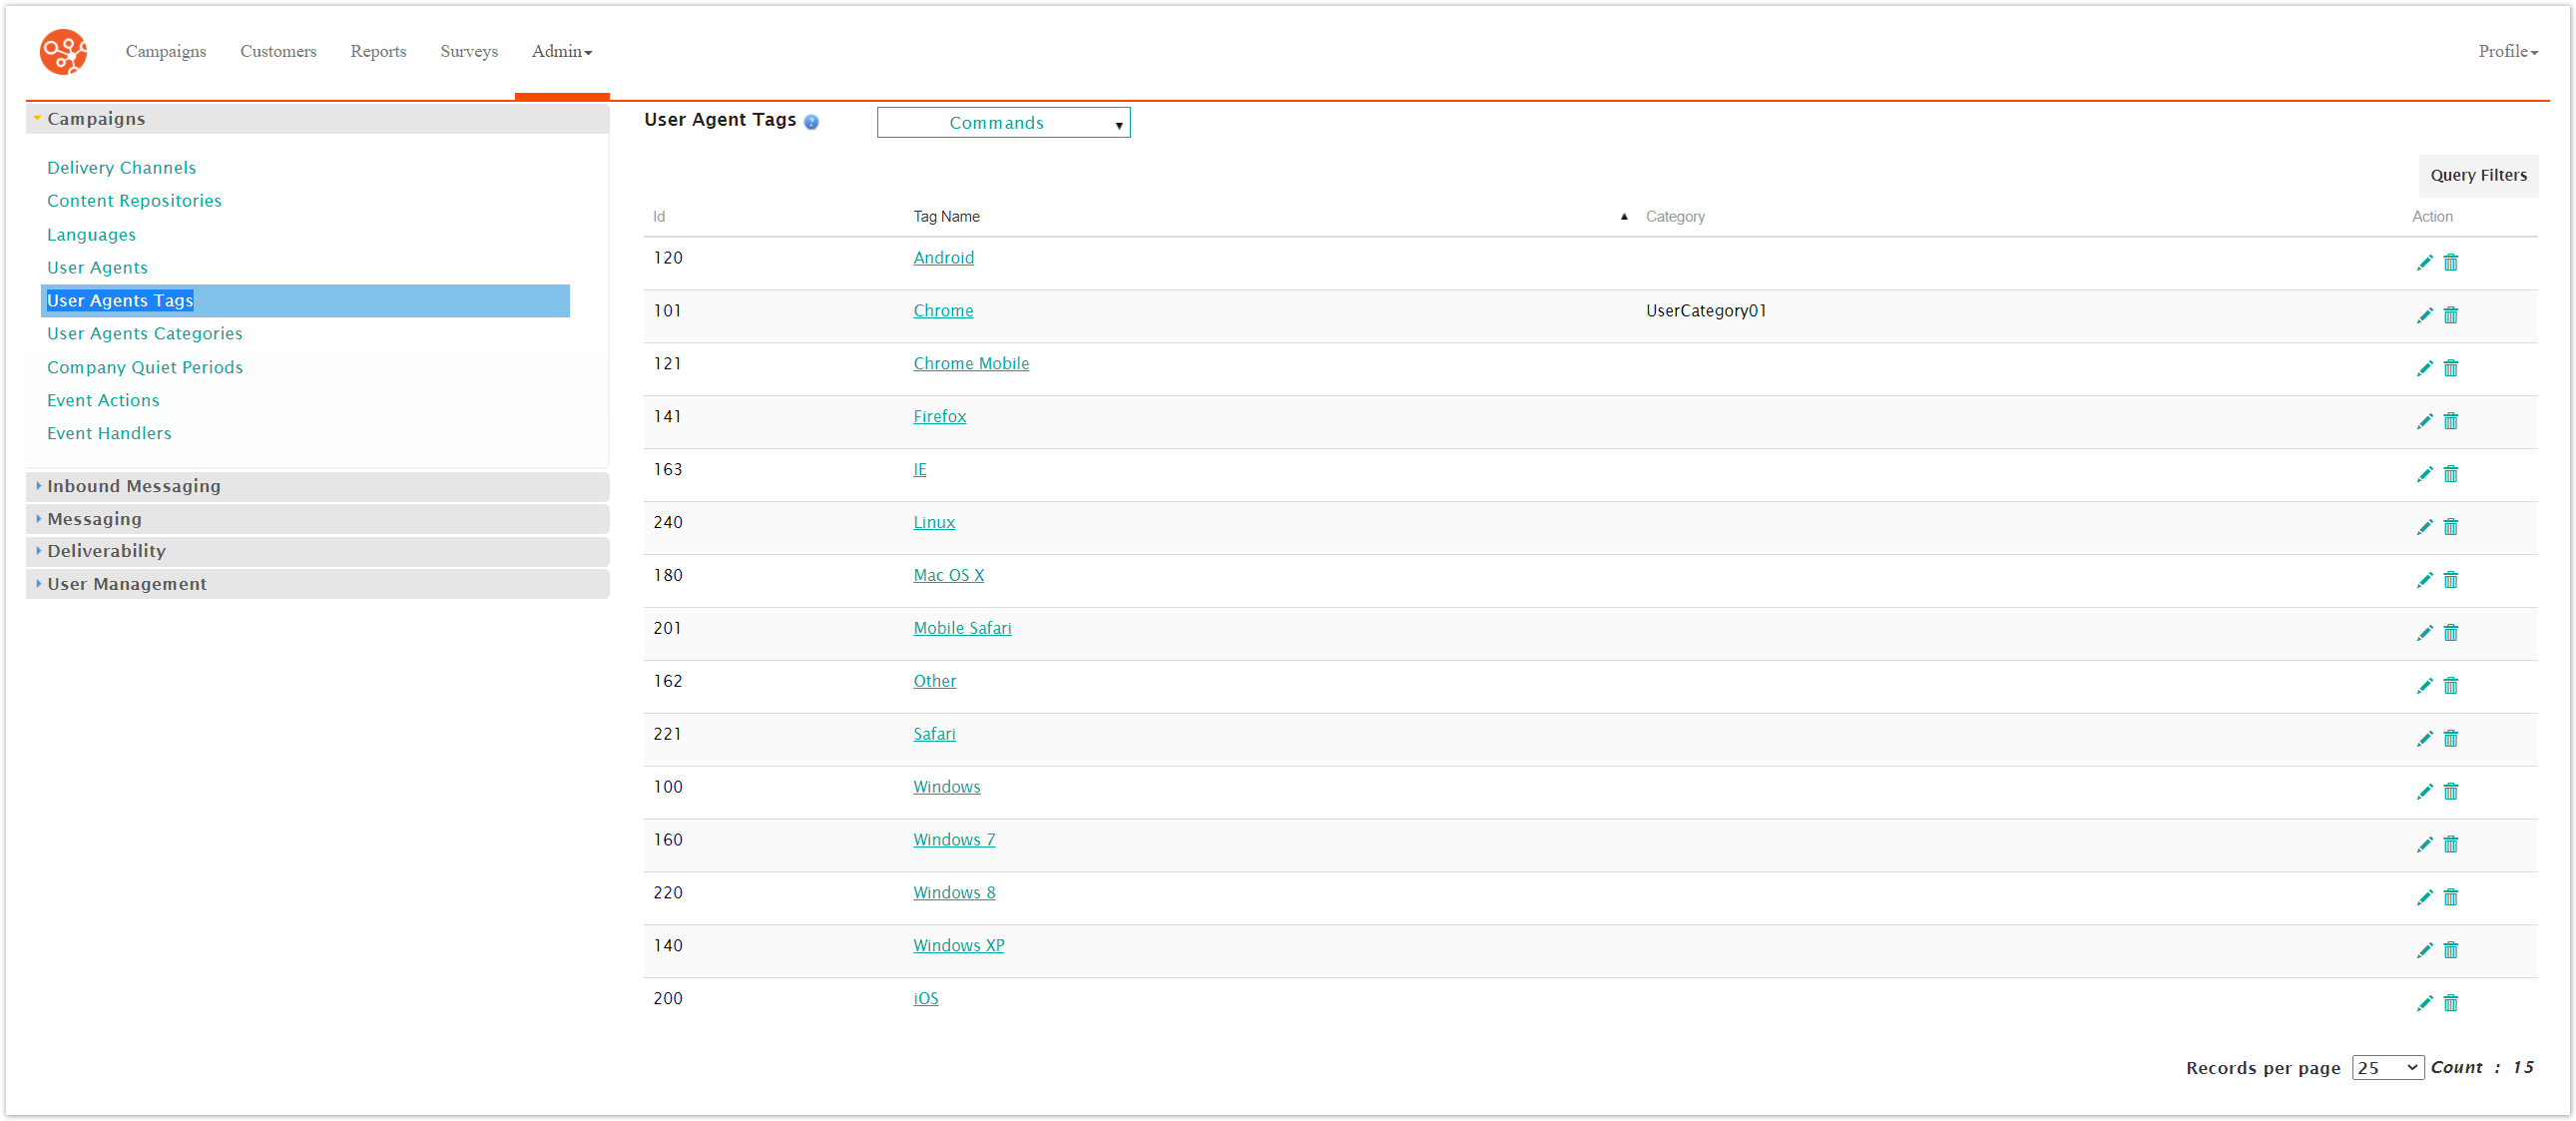
Creating a User Agent Tag
To create a new user agent tag:
Navigate to the Company Admin screen.
Under the Campaigns sub-menu in the menu bar on the left, click on the User Agents Tags menu item. The User Agents Tags screen appears.
From the Commands dropdown, select New Tag.

The User Agent Tag Details screen appears.
Enter the user agent tag details:
Tag Name: The name of the tag to be used in reporting
Tag Category ID: The desired category for the tag. Tags are able to be categorized for reporting. For more information on tag categories, please see cam_user_agent_categories.html#disclaimer.
To cancel without saving the tag, click the Cancel button. The User Agent Tags screen appears. The tag is not saved.
Click the Save button. The User Agent Tags screen appears. The tag is saved and is displayed in the list of user agent tags.