Importing Customers
Connect allows you to bulk import customer records. The document used to import customer records must be a Comma-Separated Values (CSV) document. CSV files are typically managed and exported in a spreadsheet program such as Excel. It is suggested that when creating the CSV file that you use the same information fields used in the Customer Profile page (e.g. 'First Name', 'Last Name', 'Address 1')
Note: Be aware of the following when creating your customer CSV file
The Customer ID is set by Connect and you do not need a column for this field.
The Birth Date fields are in the format of 'MMDDYYYY'.
Content Type options are Short text, HTML, Text, and Unknown.
You can leave cells in your table blank. The blanks are exported as a space between commas.
Note: Connect performs deduplication of imported data, ensuring that duplicate customer records are not created.

Importing Customer Records
To import customer records:
Navigate to the Customer Browser screen and from the Customers dropdown, select the Import Customers command. The Import Customers - Step 1 of 2 screen appears.
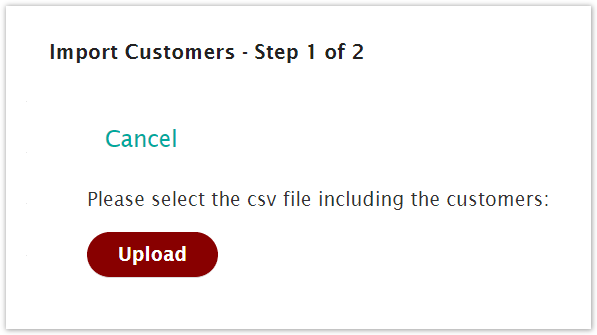
Click the Upload button. The Open dialog box appears.
Browse to, locate and click on the desired CSV file. The file name appears in the File field.
Click the Open button. The file name appears in the Import Customers screen and the file is imported. The Preview Results and Select Options button appears.
Click the Preview Results and Select Options button. The Import Customers - Step 2 of 2 screen appears and the content of the CSV files appears in a table.

From the Select conversation to associate customers with drop-down list, select a conversation you wish to associate to the customer. For more information on conversations, see Conversations.
In the Number of Lines to Skip field, enter the number of lines in the file you wish Connect to skip. This is useful if column headings are used to label the data fields in the CSV file.
To assign fields to each column:
Click the drop-down arrow in the field at the top of the column. The list of customer profile fields appear.
Click the field you wish to assign to the column.
To skip a column, select Ignore Column. Ignore Column is the default selection for all columns.
If you wish to discard all changes, click the Back button. You are returned to the 'Import Customers - Step 1 of 2' screen.
If you wish to cancel the customer import, click the Cancel button. You are returned to the Customer Browser screen.
Click the Import Customers button. The customer records are imported into Connect.