Importing Customer Records
Connect provides the ability to import customer records directly into a conversation using an import document in a Comma Separated Values (CSV) format. You can create the CSV file in a spreadsheet and saving the spreadsheet in this format.
To import customer records using a CSV file:
Navigate to the Campaigns | Conversation screen. The list of available conversations is displayed.
Click on the Import Customer Records icon (
 beside the desired conversation. The Import Customers - Step 1 of 2 screen appears.
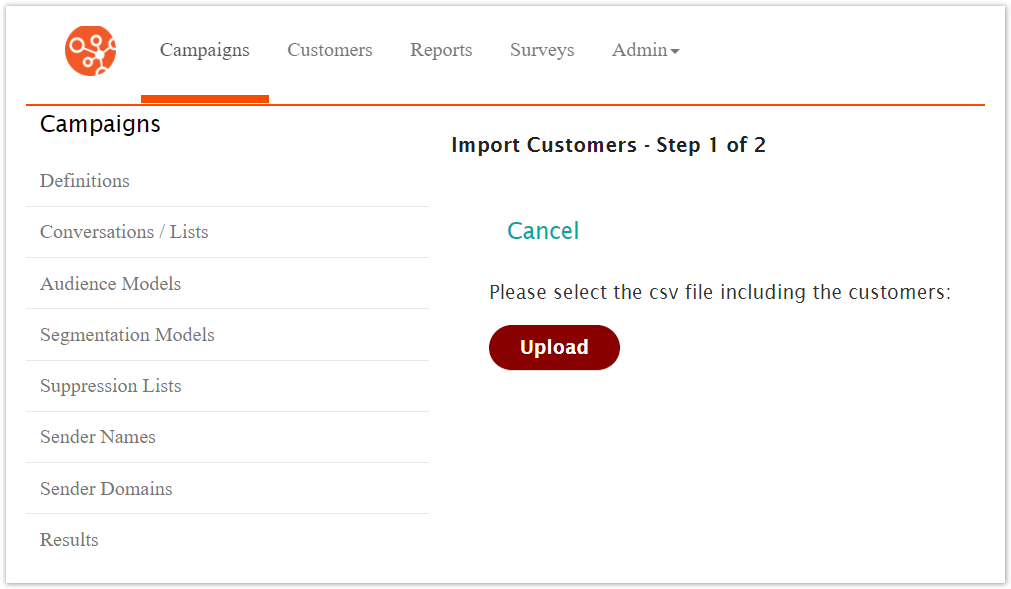
To cancel the customer record import and return to the conversation list, click the Cancel button. The Conversations list displays.
From the Import Customers - Step 1 of 2 screen, click the Upload button. The Open dialog box appears.
From the Open dialog box, browse to the CSV file and double-click on the desired CSV file icon. The file name appears in the Name field.
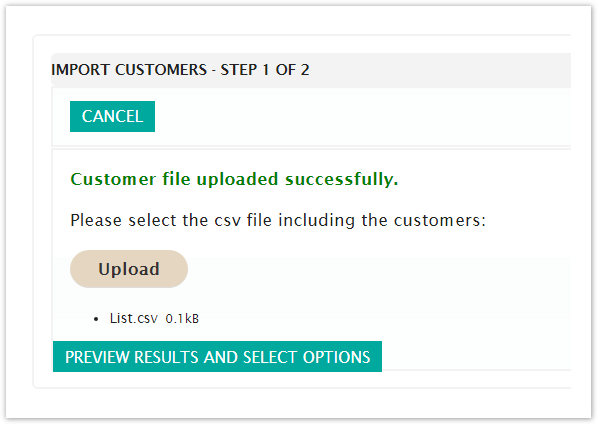
From the Import Customers - Step 1 of 2 screen, click the Preview Results And Select Options button. The Import Customers - Step 2 of 2 screen appears.

You are able to determine the number of lines that Connect will skip at the top of the CSV file if it includes header lines or the name of the data fields in the CSV file. In the Number of Lines To Skip field, enter the number of desired lines to skip.
Note: Column headings for data fields are usually in the first line of a CSV, so typically this value is '1'. If there are no column headings, you are still able to associate the data fields in the CSV to data elements in Connect.
Enter the character set used for the CSV file in the Charset: field if the preview fields are not displaying properly. Else you may leave this blank.
In the Date/Time Format field, enter the date format you wish to be used in any date fields:
yyyy: Numeric four-digit value for the year (e.g. 2017)
MM: Numeric value for the month (e.g. 02)
dd: Numeric value for the date (e.g. 17)
hh: Numeric 24-hour value for the hour (e.g. 18 for 6:00pm)
mm: Numeric value for the minutes (e.g. 15)
ss: Numeric value for the seconds (e.g. 00)
SSS: Numeric value for 1000ths of seconds (e.g. 001)
To assign each CSV field to a data field in Connect:
Select the drop-down arrow above the CSV field column. A list of customer data fields appear (e.g. 'FIRST_NAME')
Select the appropriate data field for the CSV field. That is, if the CSV column is displaying the first name of customers, select the 'FIRST_NAME') field.
If you wish to not use or import the CSV column, select 'Ignore column. The CSV column will not be imported.
Note: The customer records will not be imported if the ACTIVE_EMAIL_ADDRESS field is not associated with the appropriate customer email field in the CSV file.
To return to the Import Customers - Step 1 of 2 screen, click the Back button. You are returned to the Import Customers - Step 1 of 2 screen without importing the customers from the CSV file.
Click the Import Customers button. Connect imports the customer information in the CSV file. You are taken to the Import Customers - Result screen.

To import another CSV file, click the Import Another File button. The Import Customers - Step 1 of 2 screen appears.
Click the Done button. The Conversations page displays.