Deleting Groups
Once a group is created and configured, it may be required to delete the group if it is no longer in use or has been created erroneously.
Note: The deletion of a group will remove it from the list of active groups. Ensure that no other users or departments using Connect require the group before deletion.
Deleting a Group
To delete a group:
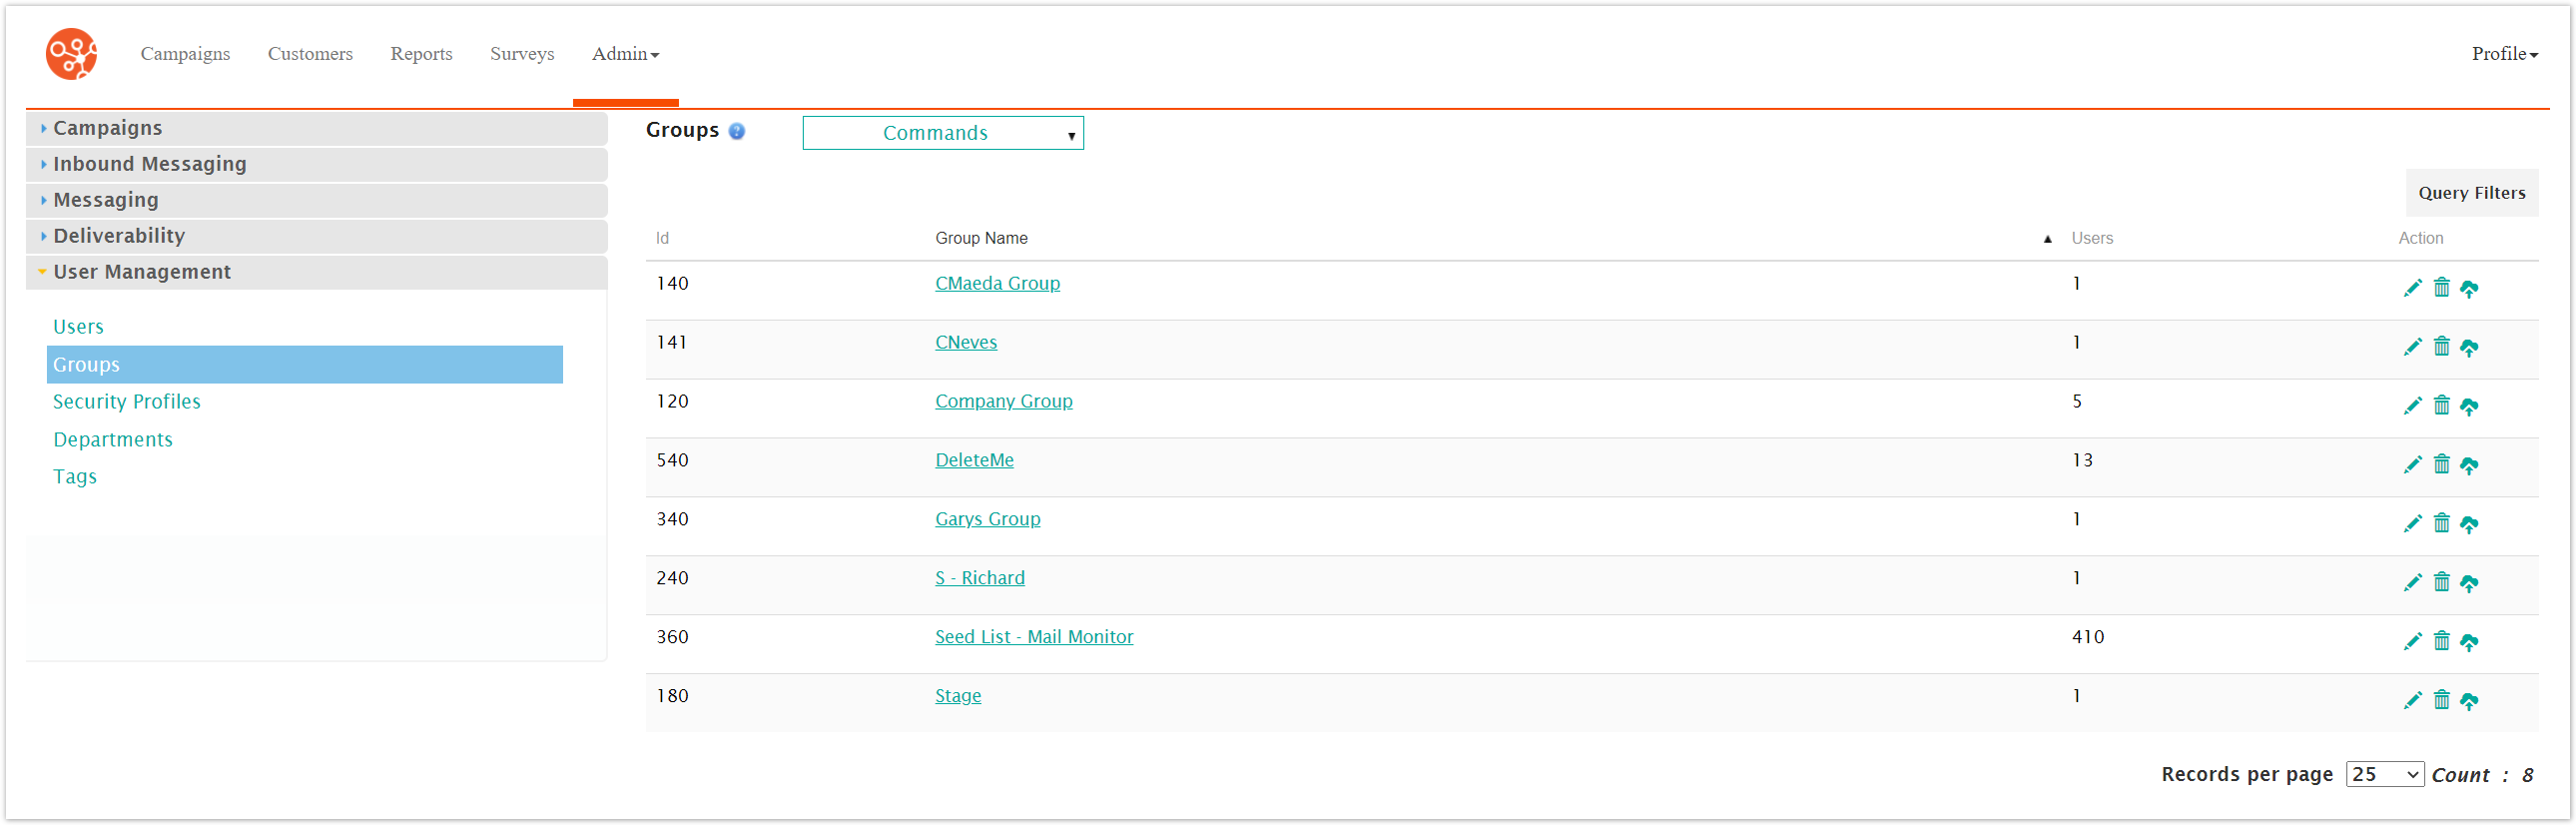
Navigate to the Company Admin screen.

Click on the User Management sub-menu in the menu bar on the left, followed by the Groups menu option. The Groups screen appears.
Click on the Delete icon (
 ) beside the desired group. The deletion confirmation message appears.
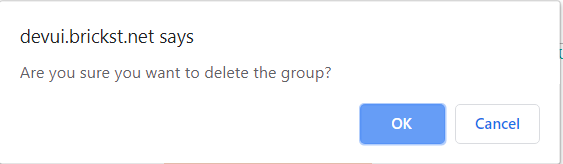
To cancel without deleting the group, click the Cancel button. The group is not deleted.
Click the OK button. The group is deleted and no longer displays in the list of available groups.