Creating SMPP Route
In order for Connect to route SMS message through different server, an SMPP Route must be configured. This allows Connect to know which prefix matches the server and what order to check them.
Creating an SMPP Route
To add an SMPP Route:
Navigate to the Company Admin screen.

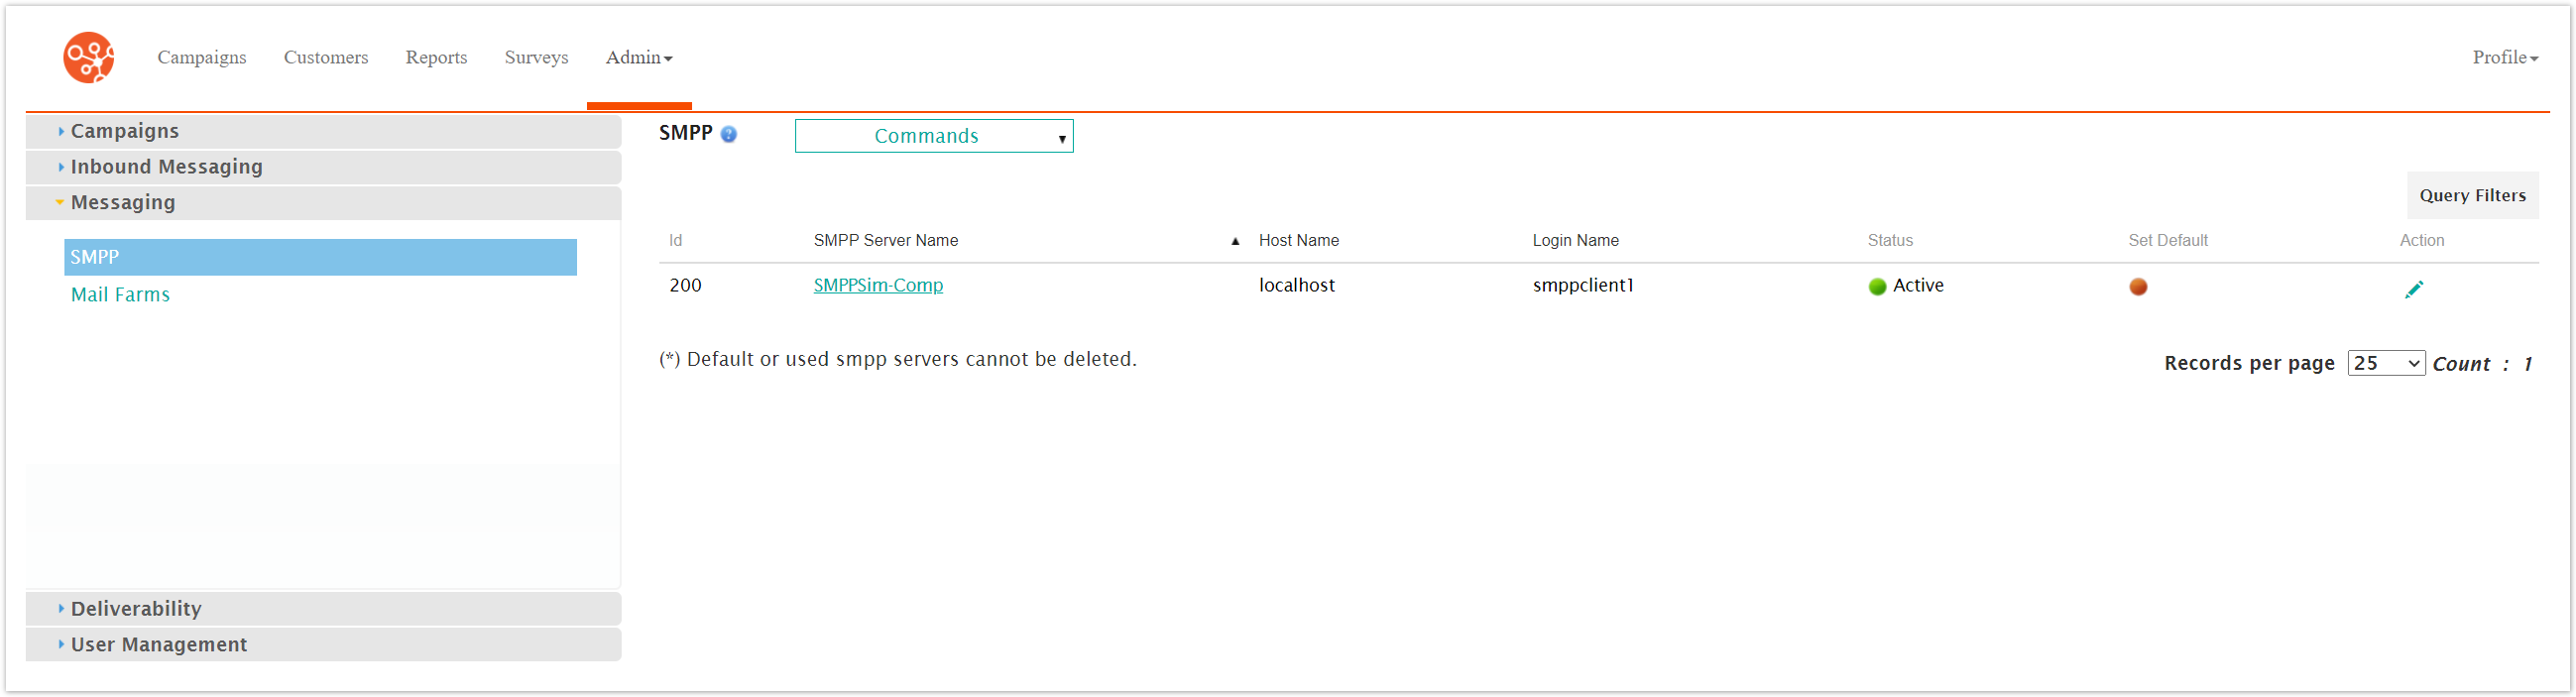
Click on the Messaging sub-menu in the menu bar on the left, followed by the SMPP menu option. The SMPP screen appears.
From the Commands dropdown, select Go to SMPP Routing. The SMPP Routing screen is displayed

From the SMPP Routing overview Screen click Command > New Smpp Routing. The SMPP Routing screen displays.

Enter the SMPP Routing details:
SMS Prefix: The prefix of the number. If it matches with target number Connect will route the SMS message through this SMPP Server. No SMS prefix means that it is the default route.
Name: Unique name for the route.
Routing Order: Order that Connect will check each server. The lower the number the higher in the order. 0 is default.
SMPP Server/SMPP Sender: A dropdown of all available SMPP Servers and SMPP Sender combination. Select which one you want for the route.
Fallback SMPP Server/SMPP Sender: A dropdown of all available SMPP Servers and SMPP Sender combination. Select which one you want for the fallback if the prefix does not match.
To cancel without saving the SMPP router, click the Cancel button. The SMPP Routing overview screen appears. The SMPP route is not saved and does not appear in the list of SMPP servers.
Click the Save button. The SMPP Routing overview screen appears. The SMPP route is saved and appears in the list.