Advanced Options
Connect provides a series of advanced options to further configure an SMPP server should the need for more connection information be require.
Managing Advanced Options for SMPP Servers
To manage the advanced options of an SMPP server:
Navigate to the Instance Admin screen. The System Parameters screen displays.
Click on the Messaging sub-menu in the menu bar on the left, followed by the SMPP menu option. The SMPP screen appears.

Click on the desired SMPP server name link from the list of SMPP server or click on the Edit icon (
 ) beside the desired SMPP. The Edit SMPP Server Information screen appears displaying the details of the SMPP server.
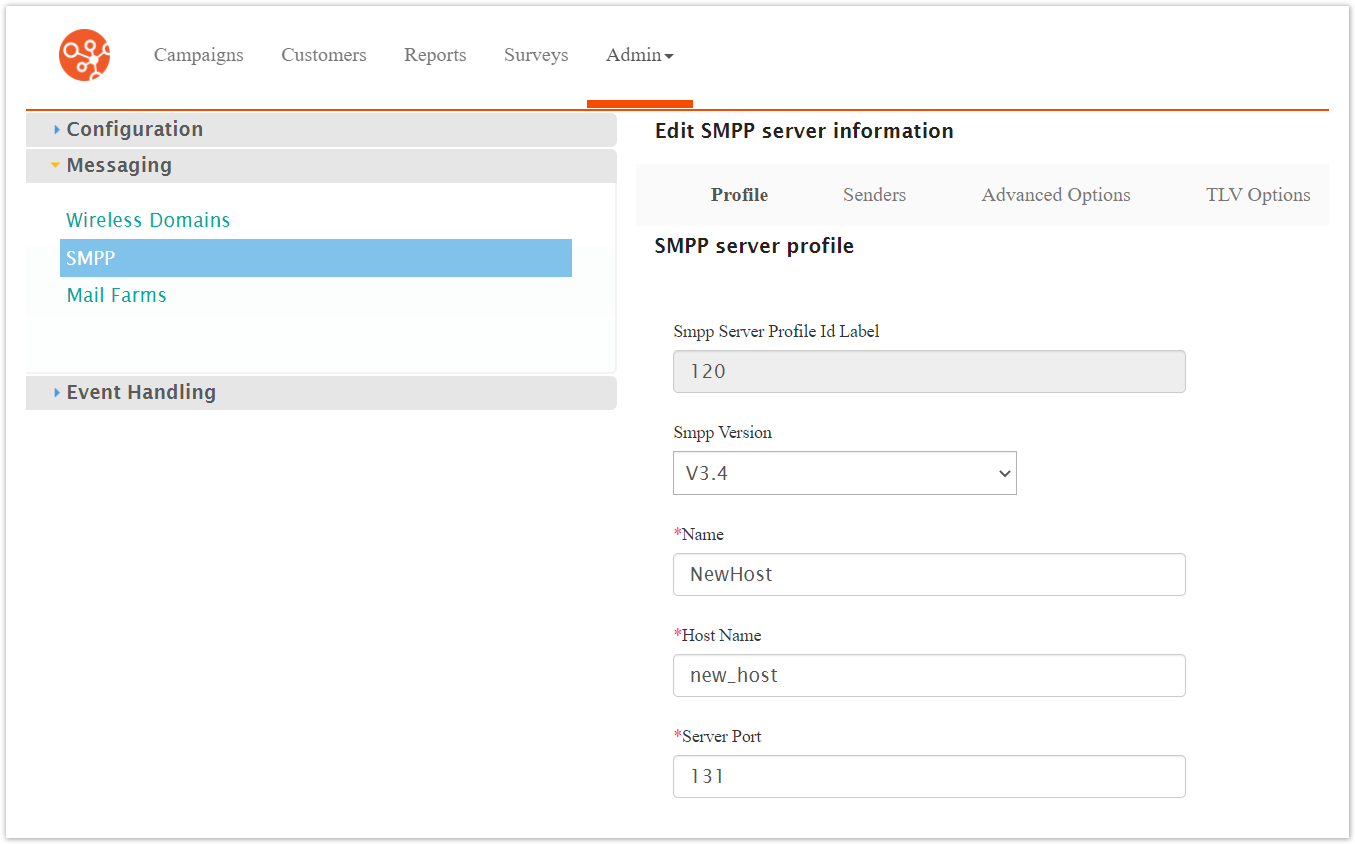
Click on the Advanced Options sub-menu tab. The SMPP Senders screen appears.
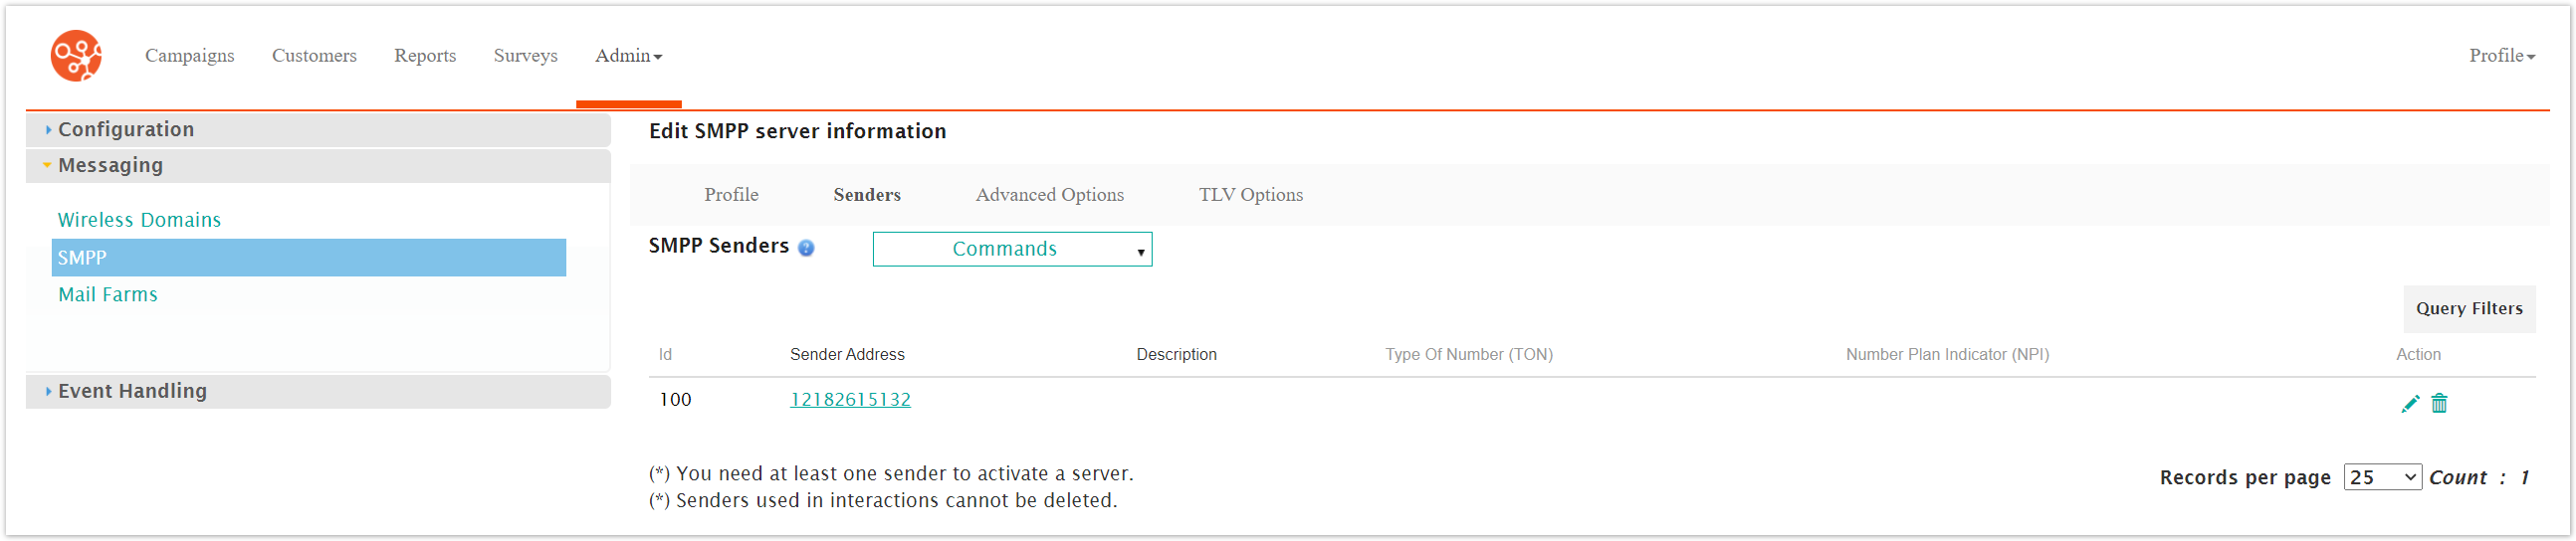
Click on the desired SMPP sender name link from the list of SMPP sender or click on the Edit icon (
) beside the desired sender. The Edit SMPP Sender Informationscreen appears displaying the details of the SMPP server.
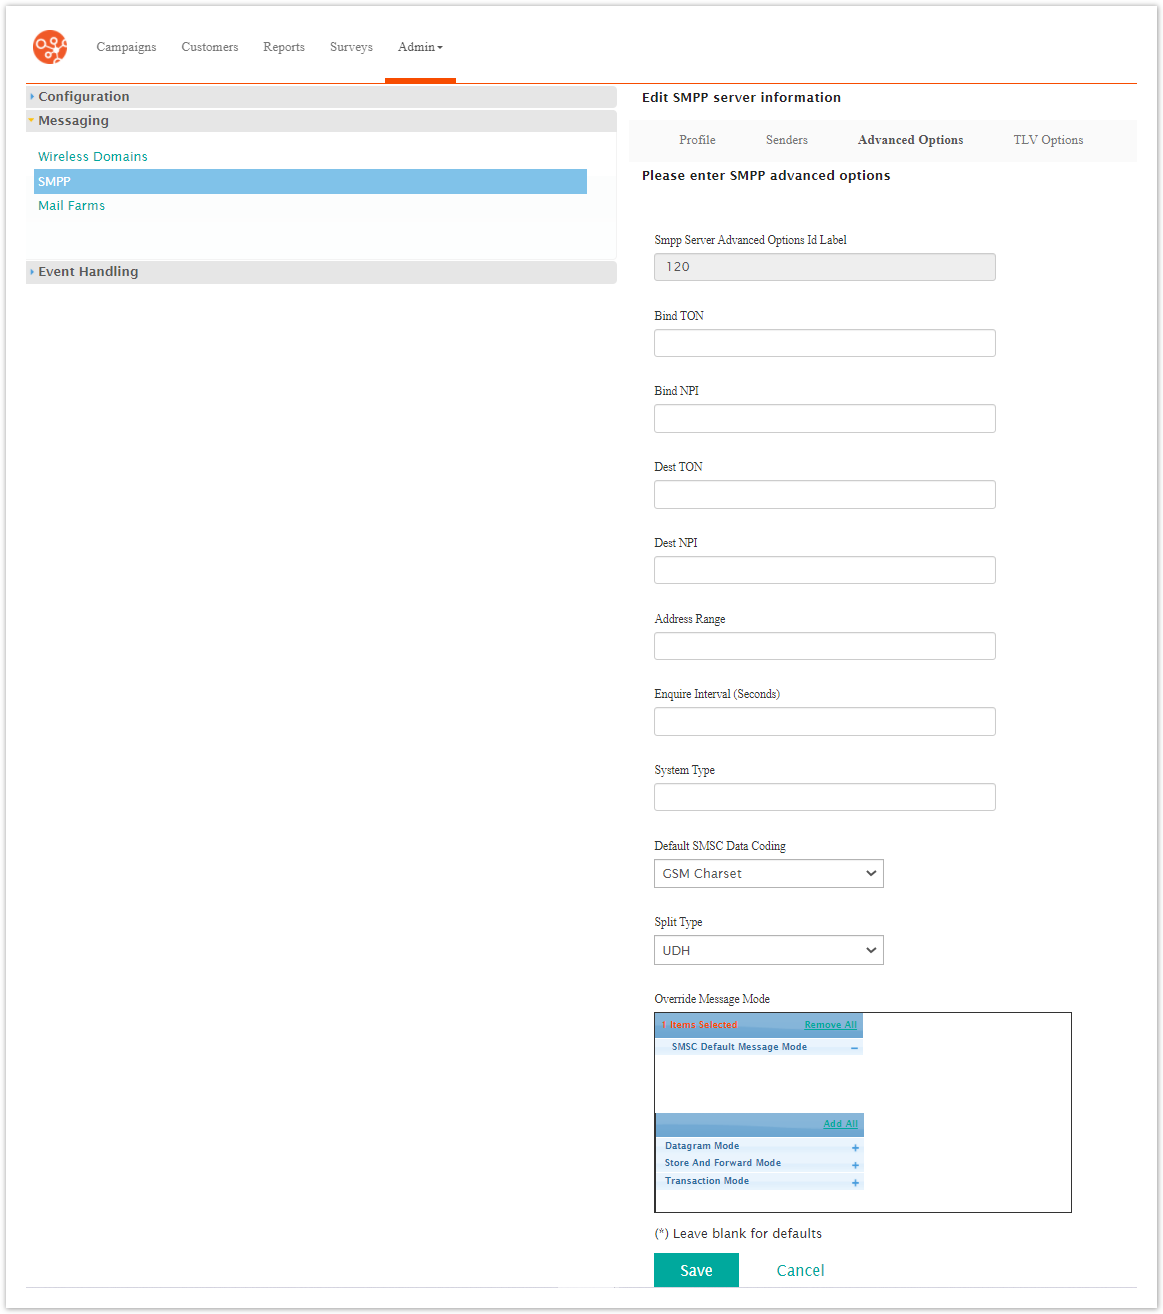
Click on the Advanced Options sub-menu tab. The Please Enter SMPP Advanced Options screen appears.
Enter or edit the advanced options:
Bind TON: Specifies the Type of Number (TON) when binding the message (For more information on TONs, please see Creating Senders.
Bind NPI: Specifies the Number Plan Indicator (NPI) when binding the message ((For more information on NPIs, please see Creating Senders.
Dest TON: Specifies the destination Type of Number (TON) for the message
Dest NPI: Specifies the destination Number Plan Indicator (NPI) for the message
Address Range: Defines the mask for the range of short codes accepted by the Short Message Service Centre (SMSC)
Enquire Interval (seconds): Specifies the interval at which the enquire_link request will be sent to the SMSC. By default, the value is set to 60 seconds.
System Type: Provided by the SMSC provider
Default SMSC Data Coding: Default value for this field is the GSM charset (e.g. GSM Charset, ASCII). This is a drop-down list containing all available character sets.
Note: Ask your SMSC provider about the default character set and set this field accordingly.Split Type: Identifies how Connect can split the SMS message (i.e. User Data Header (UDH), Tag Length Value (TLV) or simple split)
In the Override Message Mode section, you are able to select the different modes that can be used to handle override messages:
Datagram Mode
SMSC Default Message Mode
Store and Forward Mode
Transaction Mode
Click the '+' symbol to add the mode to the available Override Message Modes.
Click the '-' symbol to remove the mode from the available Override Message Modes.
Click the Add All link to add all of the nodes to the available Override Message Modes.
Click the Remove All link to remove all of the nodes from the available Override Message Modes.
Note: The Override Message Mode option only appears when you select the '3.4 SMPP' version on the SMPP Profile screen. For more information, please see Creating SMPP Servers.
To cancel without saving the advanced options, click the Cancel button. The SMPP screen appears. The advanced options are not saved.
Click the Save button. The advanced options are saved.